

Set up your organisation
Before you start
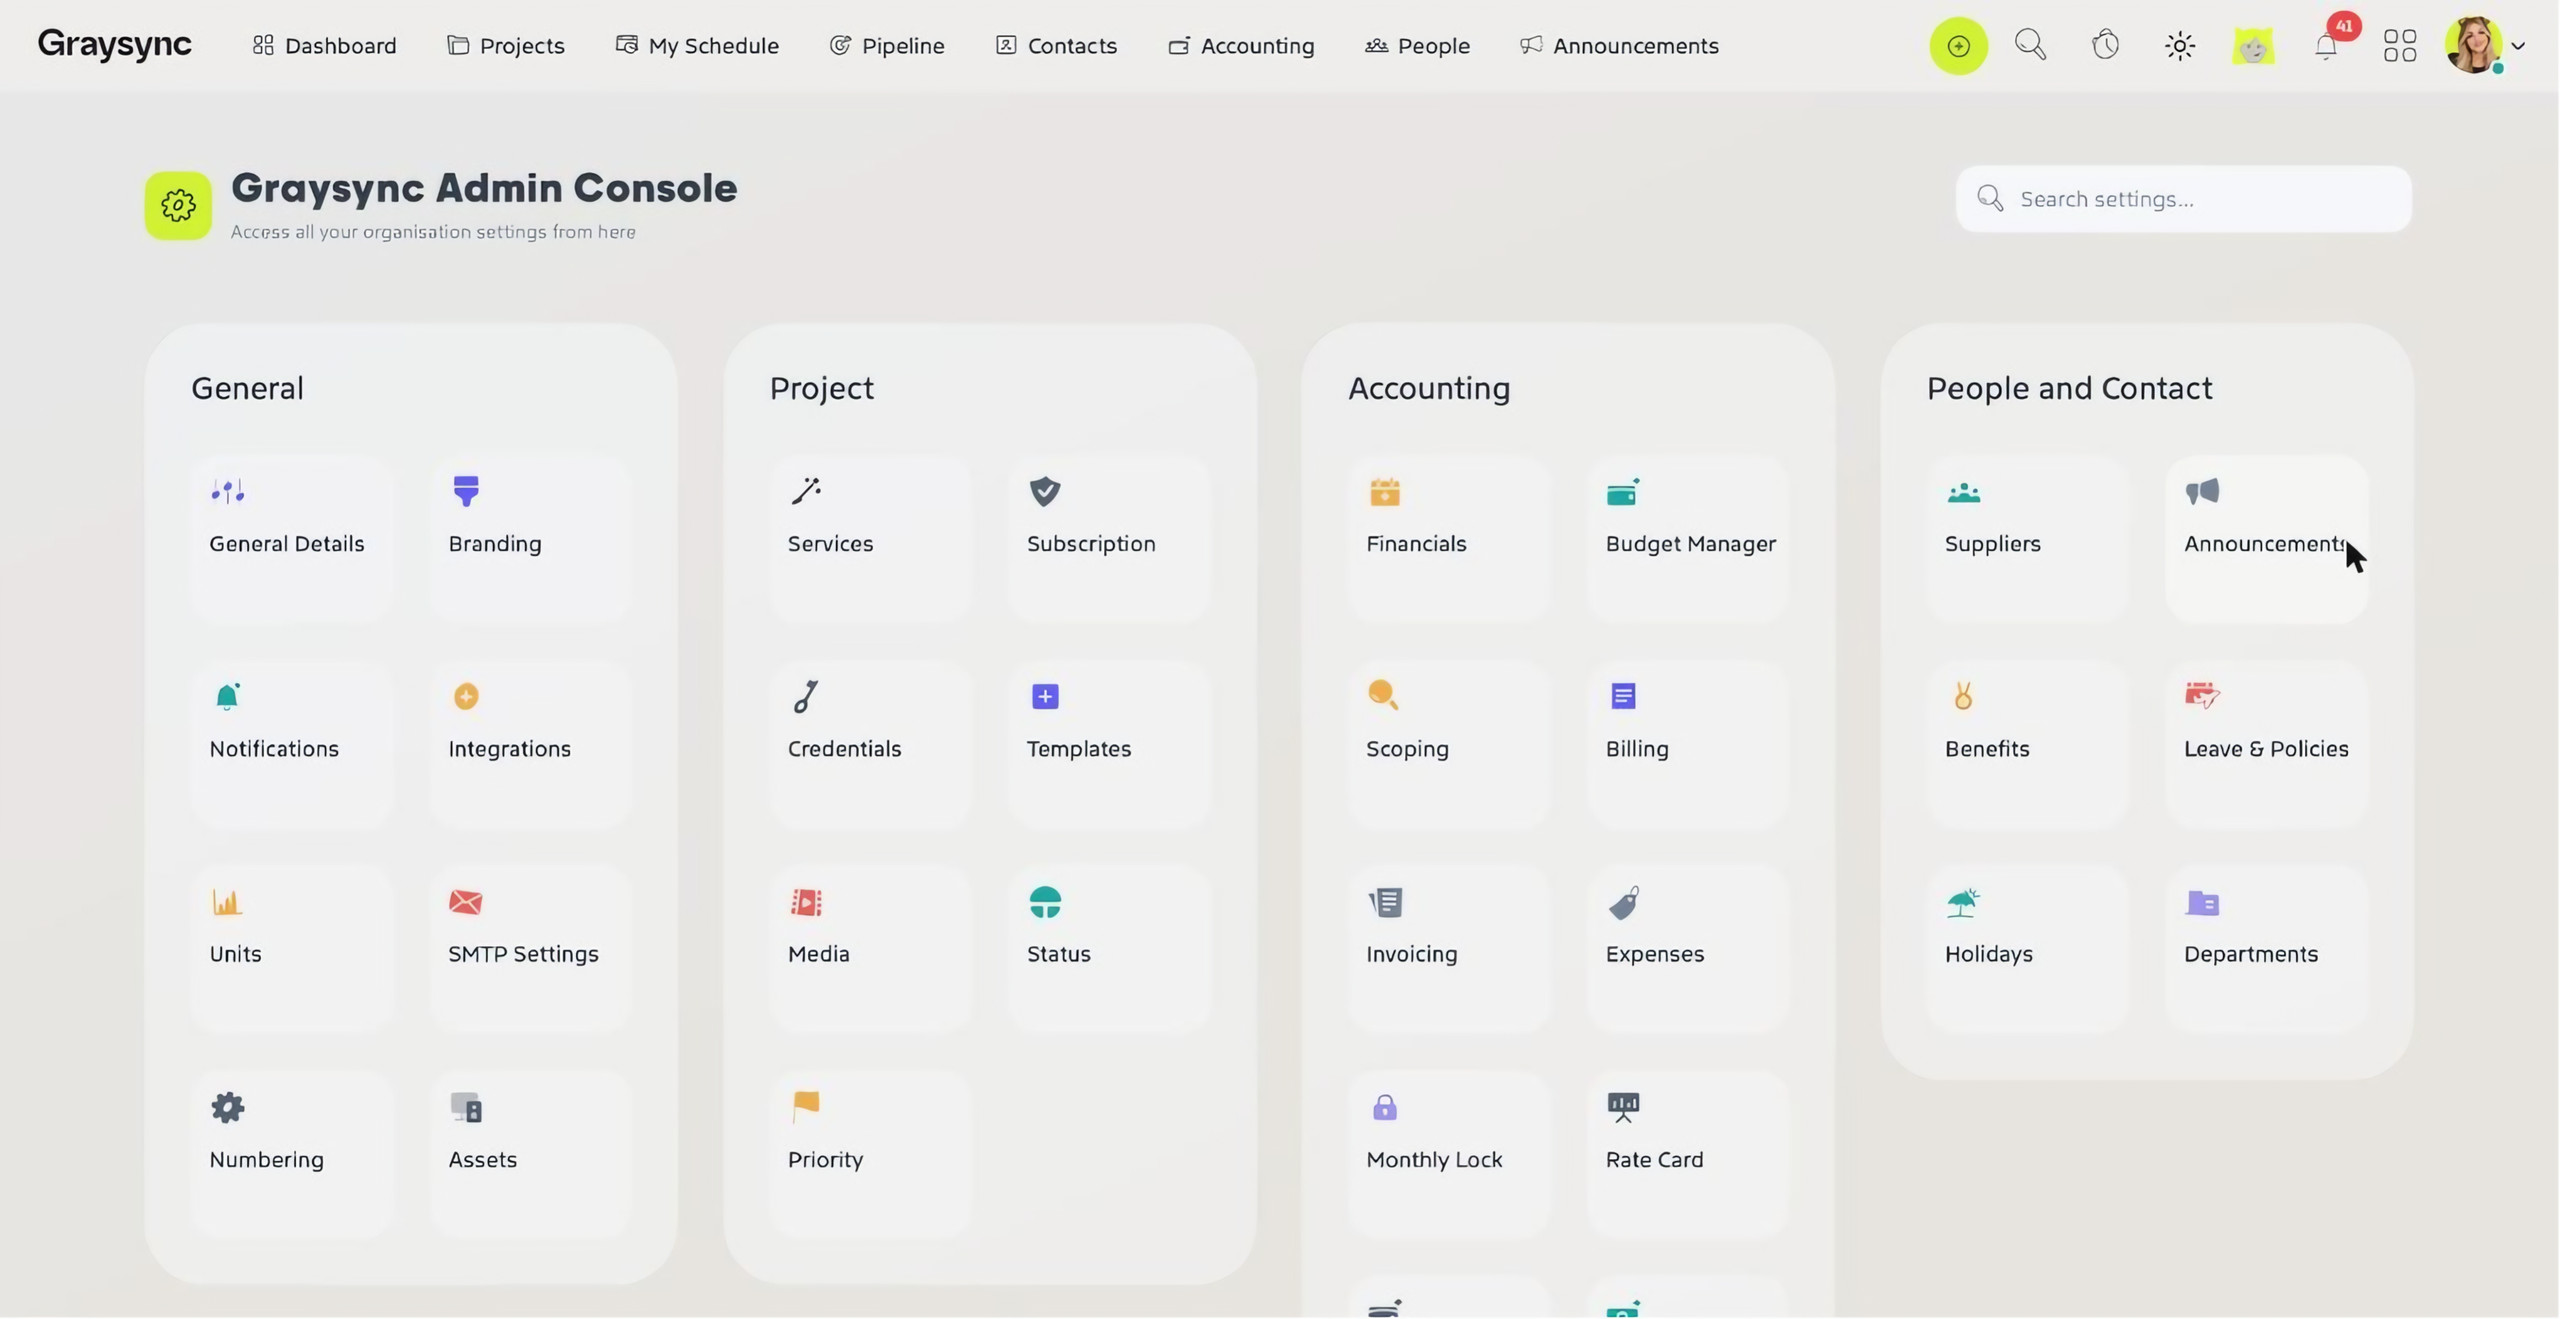
Organisation settings live in the Admin Console. Only people with access to it can change these settings, so if you can’t see Admin Console in the apps menu, ask your Organisation Owner.
Open the Admin Console
- Click the apps menu (the grid icon) in the top-right corner.
- Choose Admin Console.
- Select your organisation. If you run more than one, use All Organisations & Groups to find the right one.
Settings are grouped into General, Project, Accounting and People and Contact. You can also type into Search settings… to jump straight to the one you need.
Add your organisation details
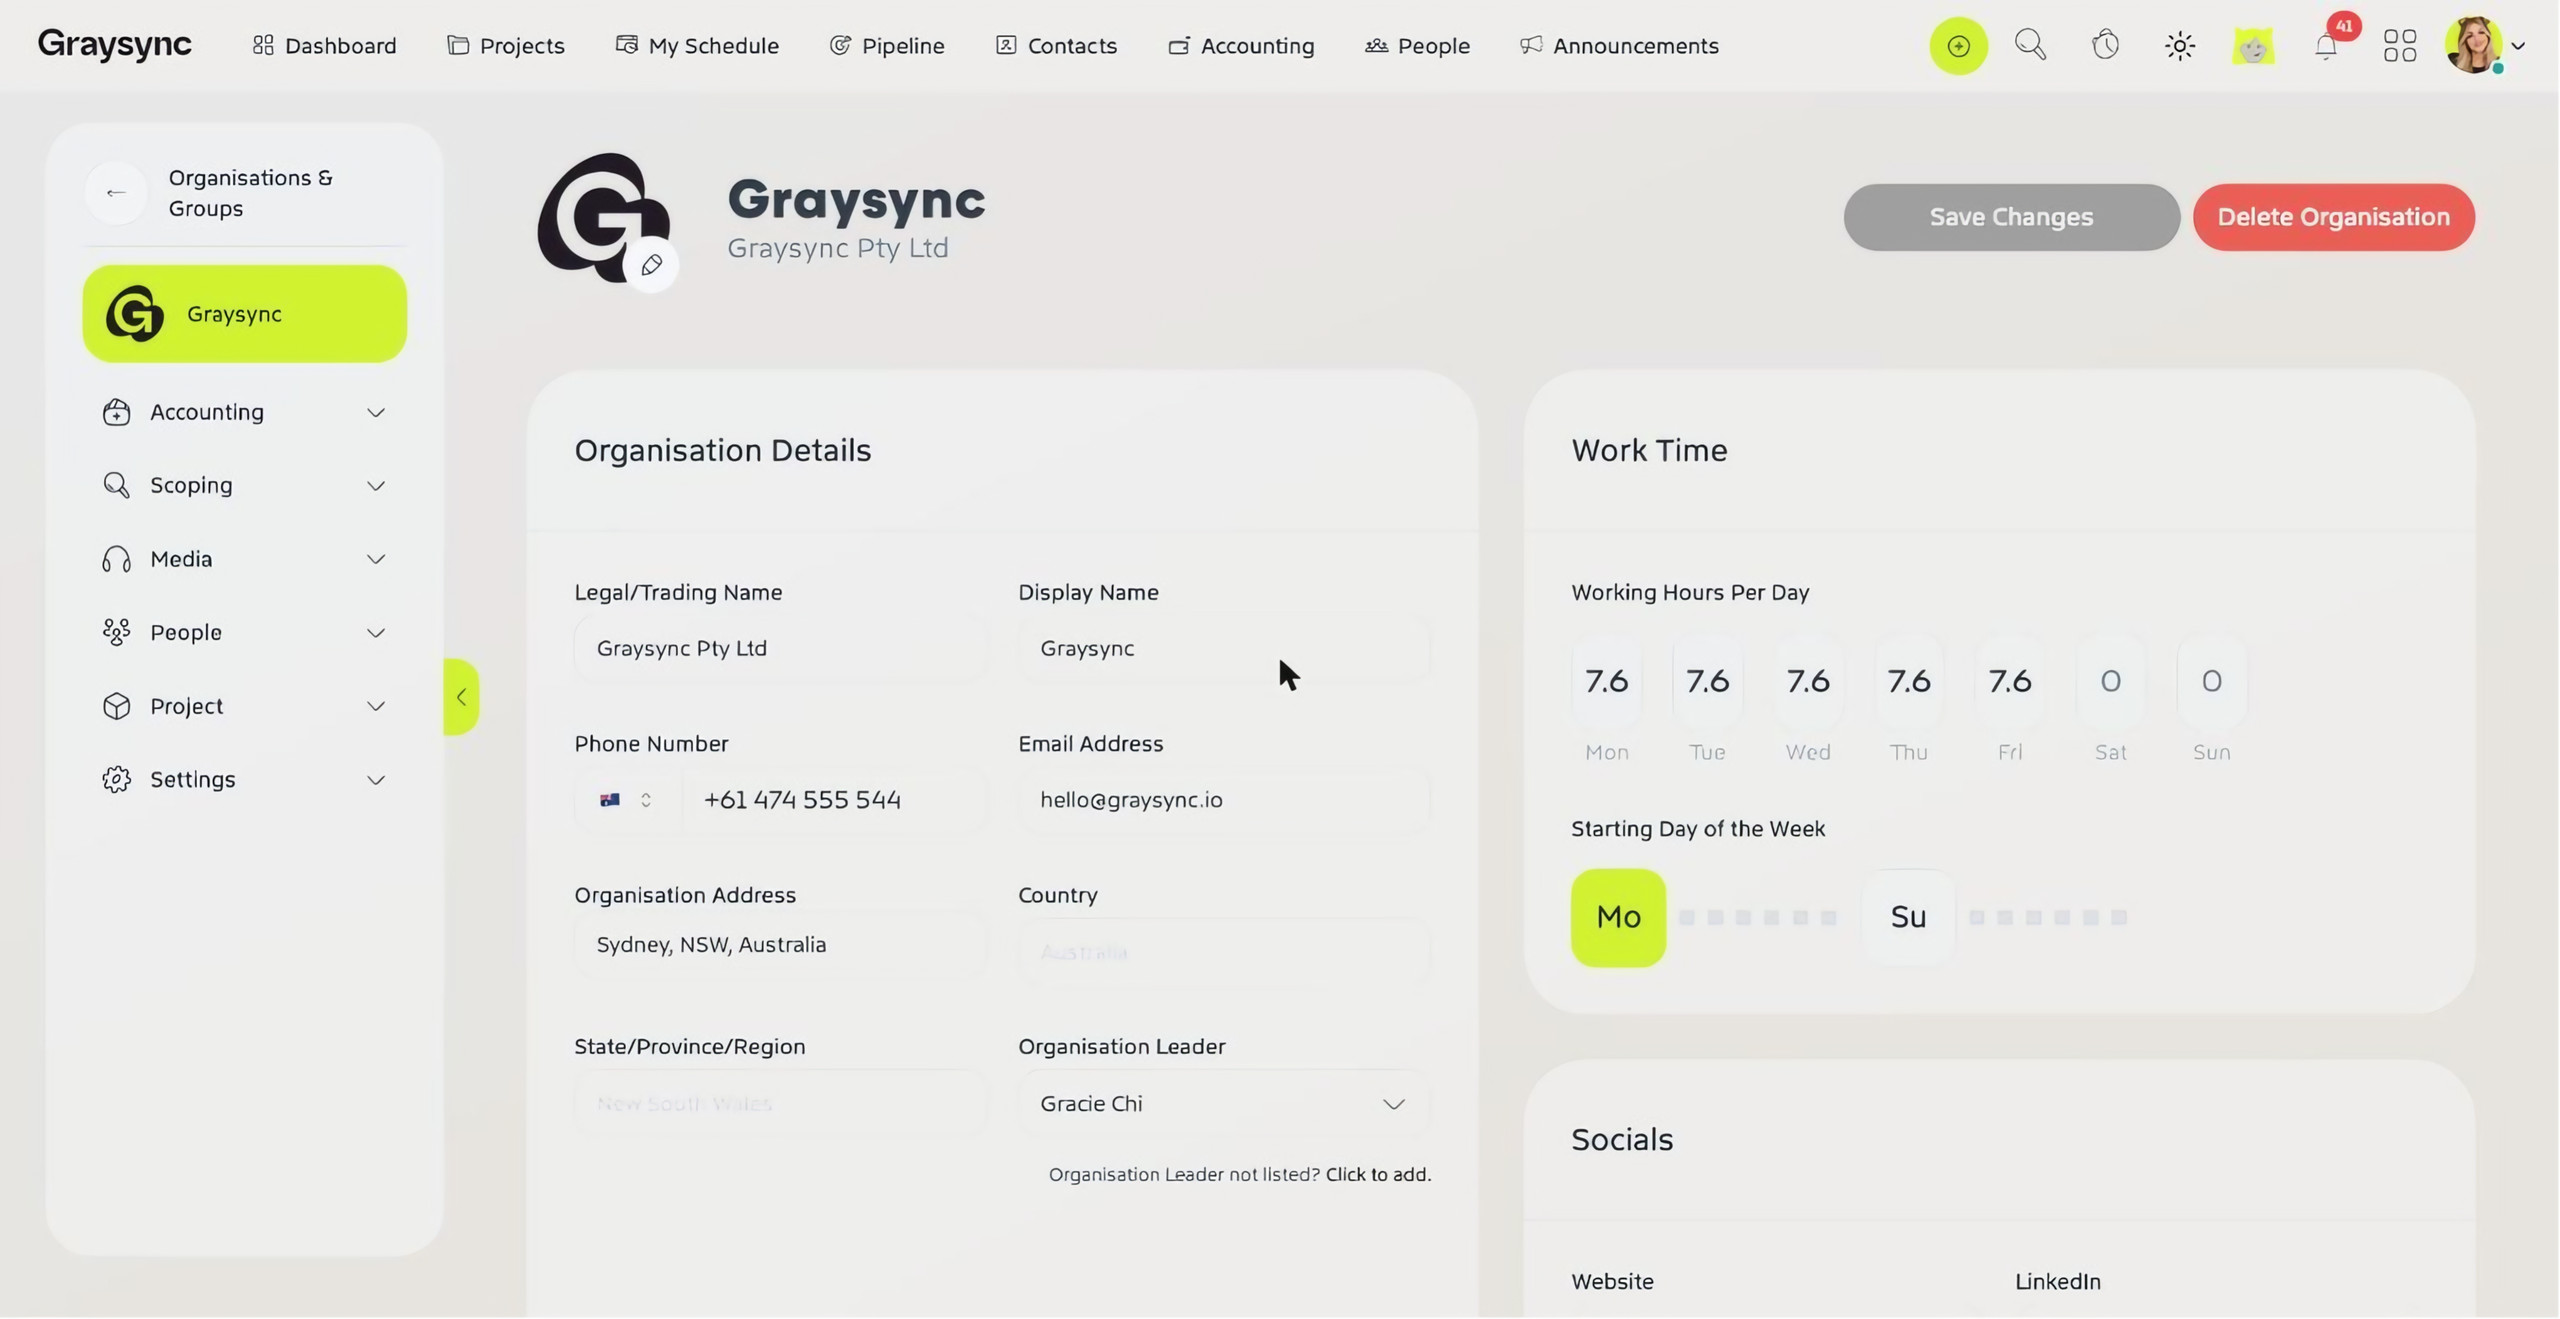
Open General Details and fill in:
- Legal/Trading Name and Display Name
- Phone Number and Email Address
- Organisation Address, Country and State/Province/Region
- Organisation Leader – pick a person, or click Click to add if they’re not listed yet
Under Work Time, enter the Working Hours Per Day for each day of the week (for example 7.6 hours Monday to Friday and 0 on weekends) and choose whether your week starts on Monday or Sunday. You can also add your website and social links under Socials. Click Save Changes when you’re done.
Add your branding
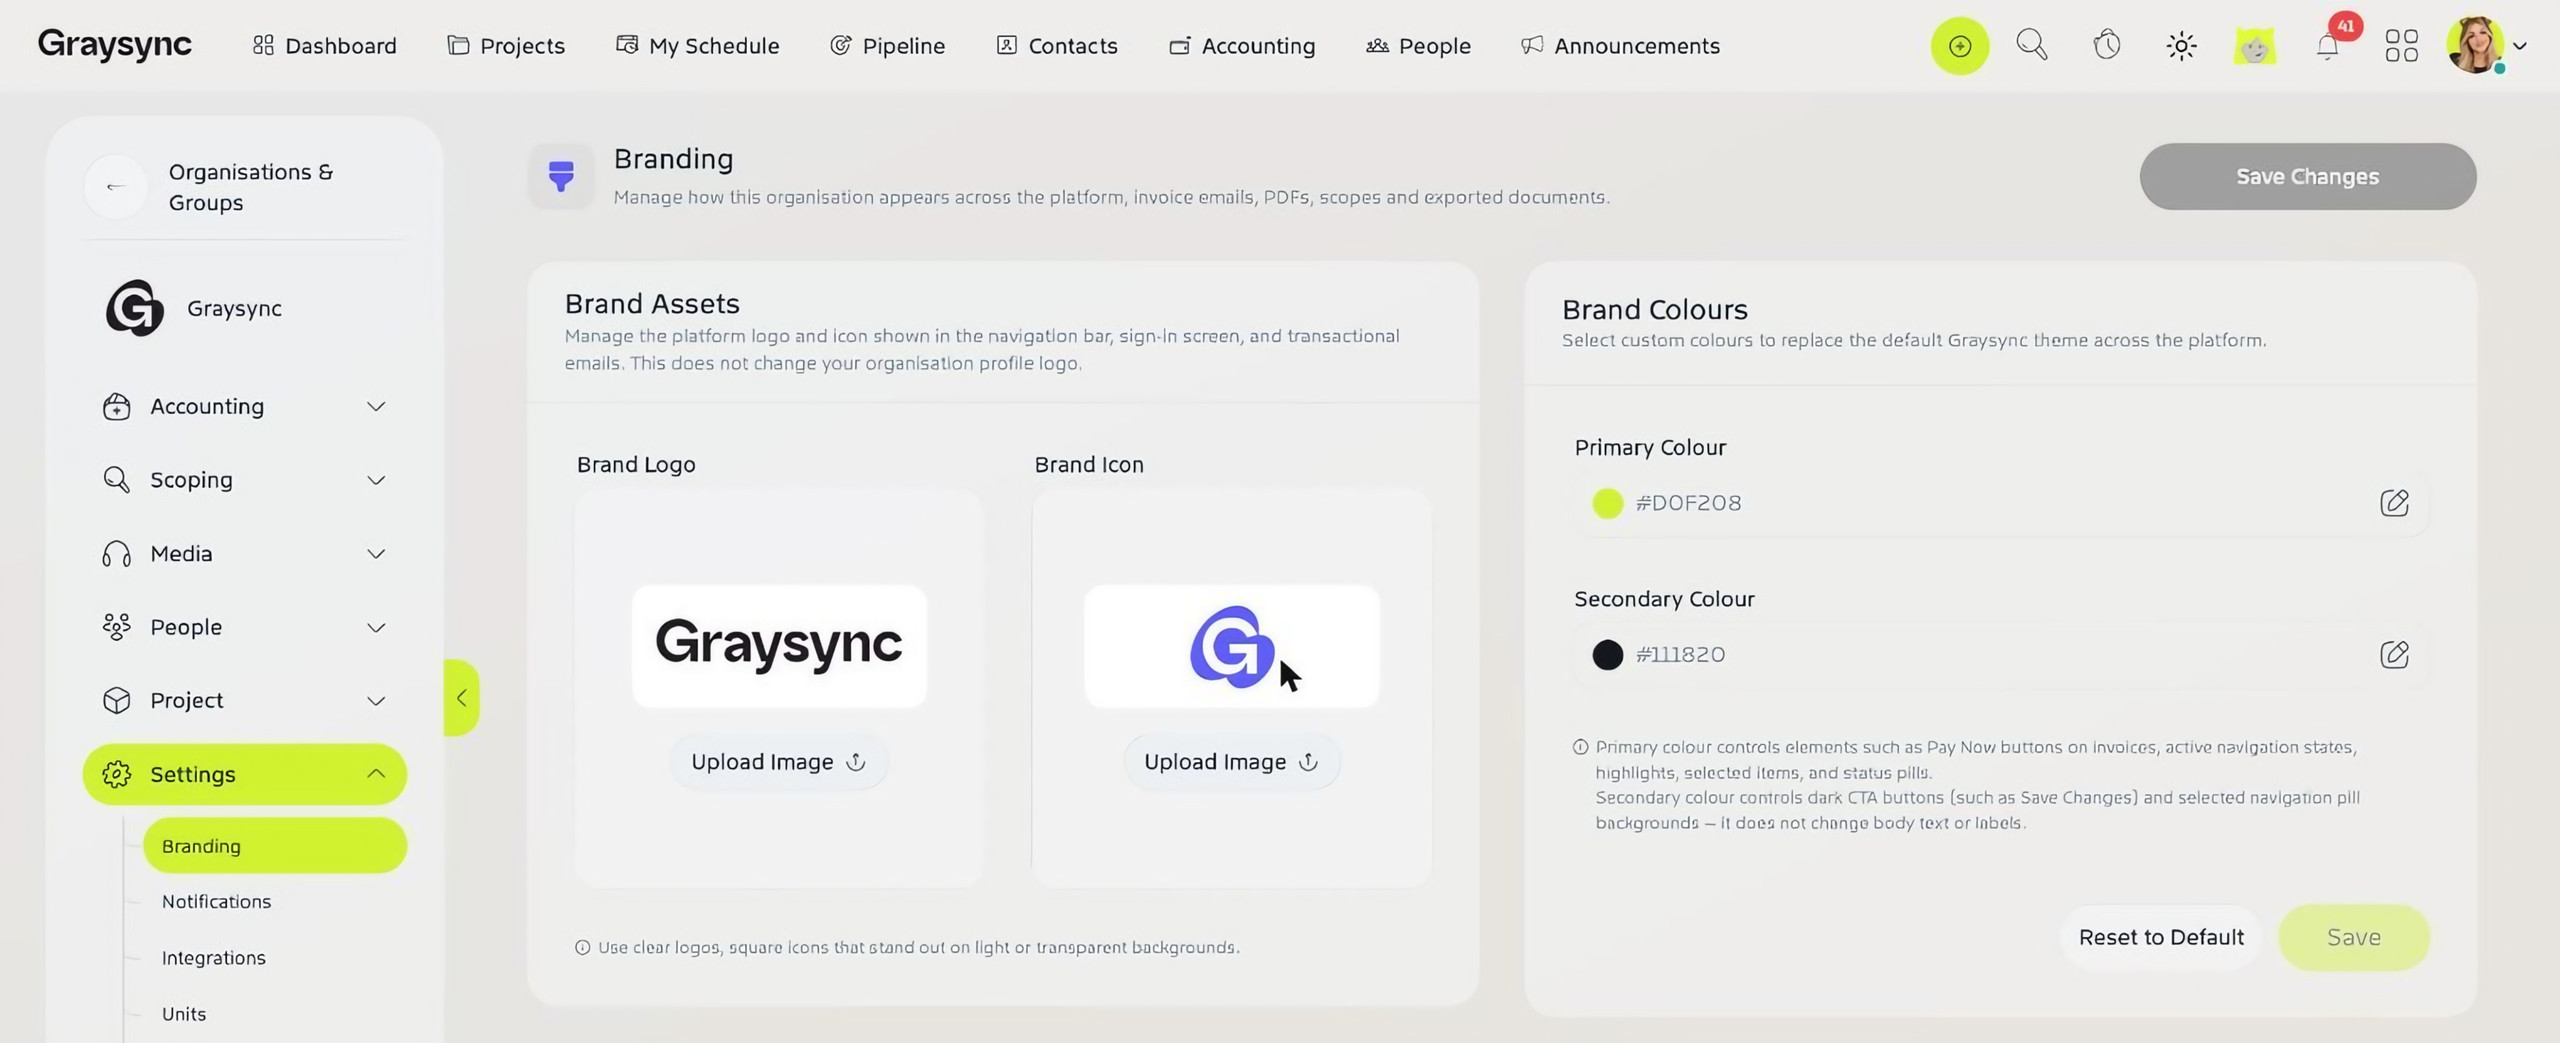
Go to Settings → Branding.
- Upload your Brand Logo and Brand Icon. These appear in the navigation bar, on the sign-in screen and in transactional emails. They don’t change your organisation profile logo.
- Set your Primary Colour, used for things like Pay Now buttons on invoices, active navigation, highlights and status pills.
- Set your Secondary Colour, used for dark buttons such as Save Changes and selected navigation.
Click Save to apply your colours, or Reset to Default to go back to the standard Graysync theme.
Choose how records are numbered
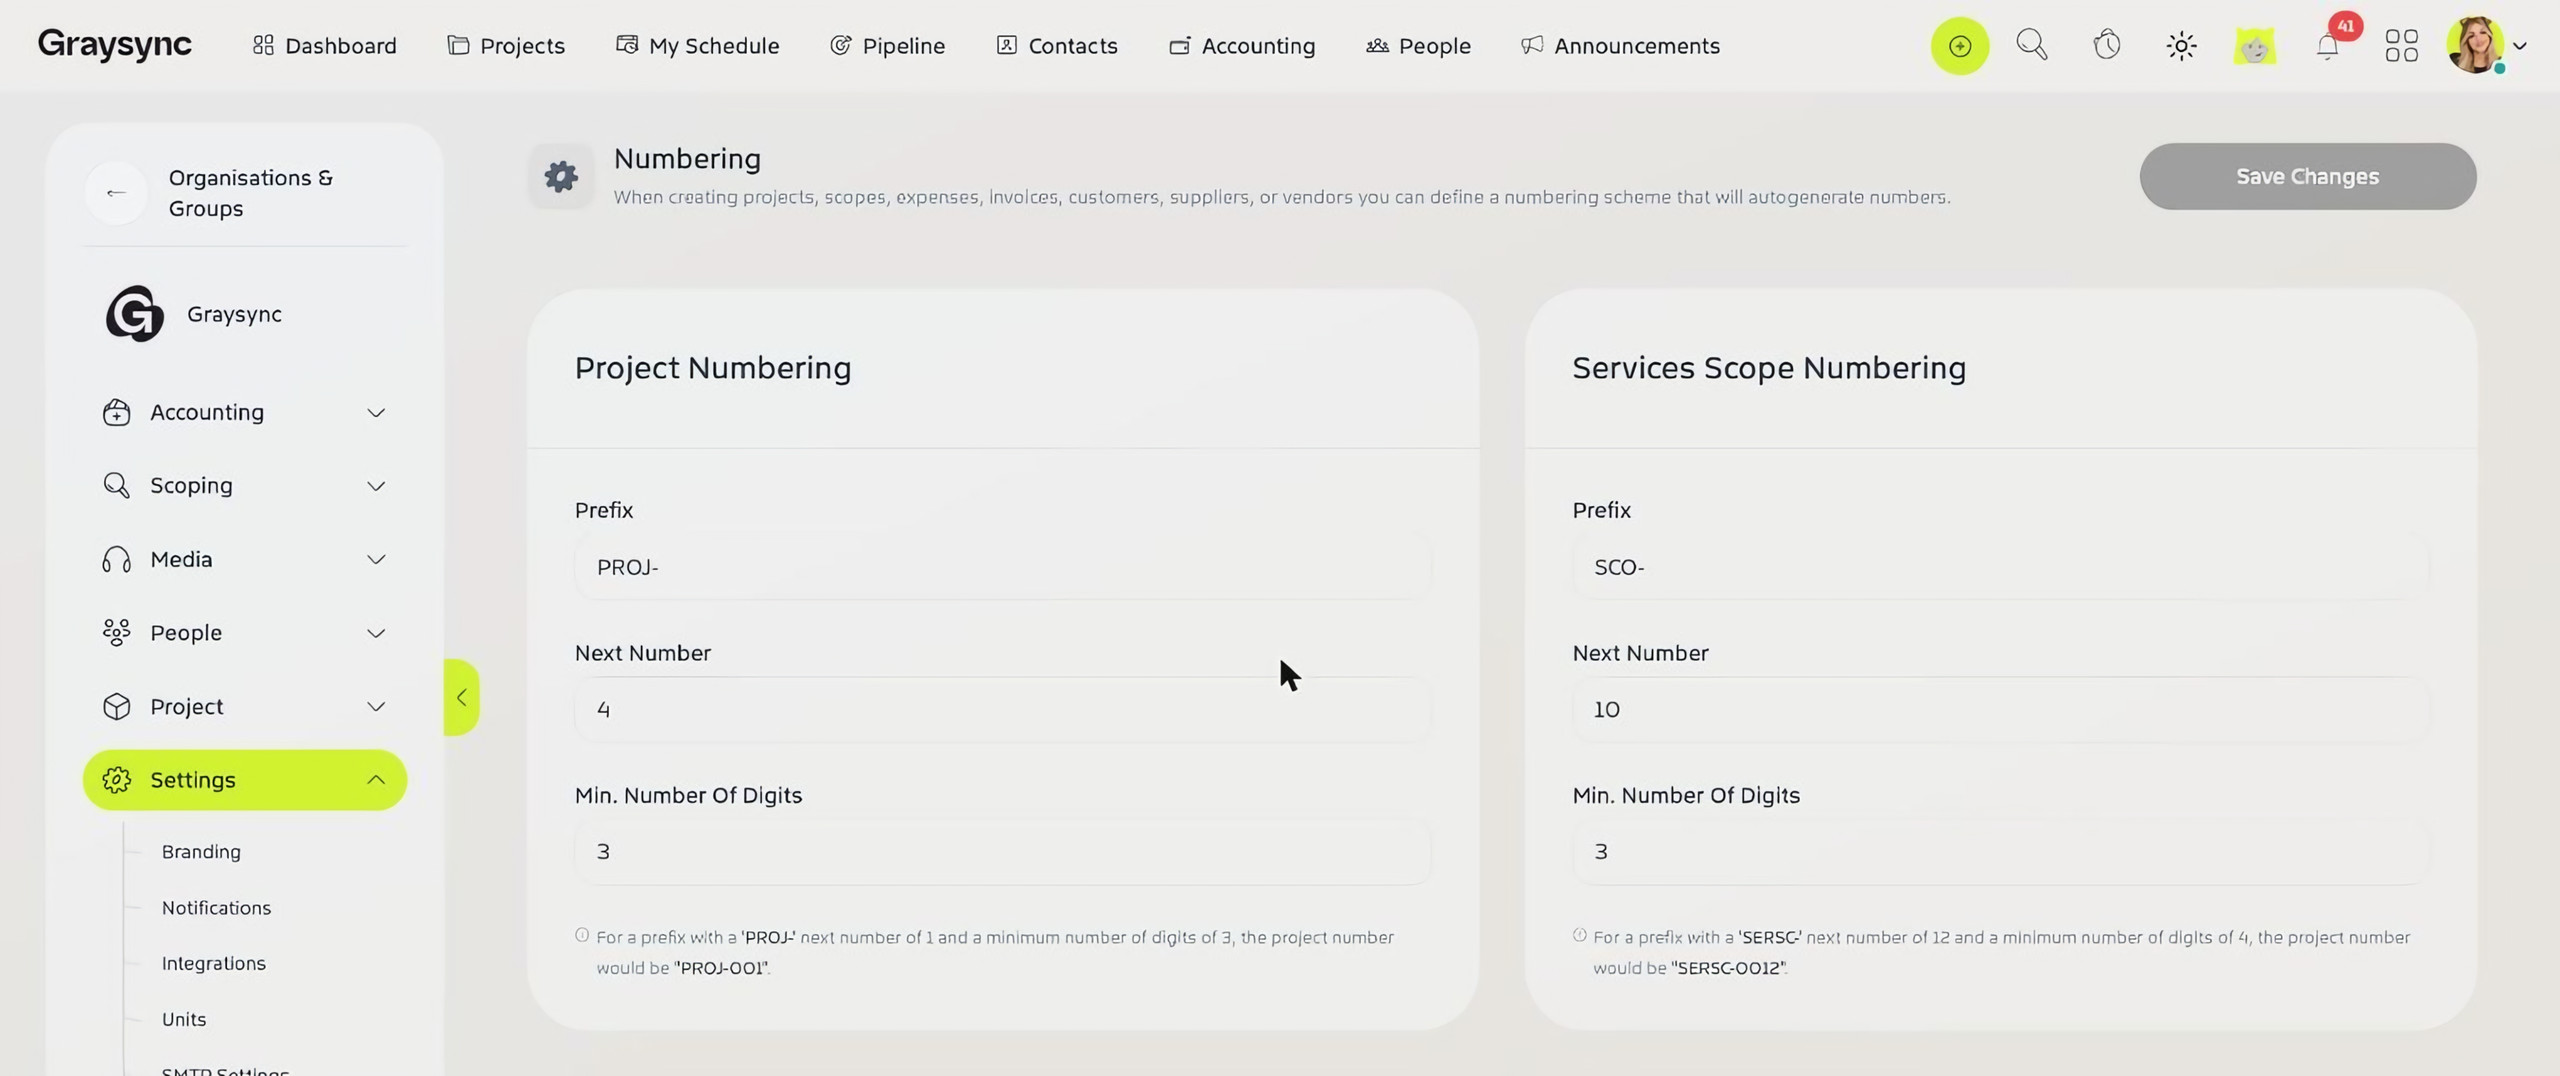
Go to Settings → Numbering to control the numbers Graysync gives new projects, scopes, media plans, expenses, invoices, customers, suppliers and vendors. For each one, set a Prefix, the Next Number and the Min. Number Of Digits. For example, a prefix of PROJ-, next number 1 and 3 digits gives you PROJ-001. Click Save Changes.
Check your currencies and tax rates
Under Accounting in the Admin Console:
- Open Currency and click Add New Currency for each currency you bill or buy in.
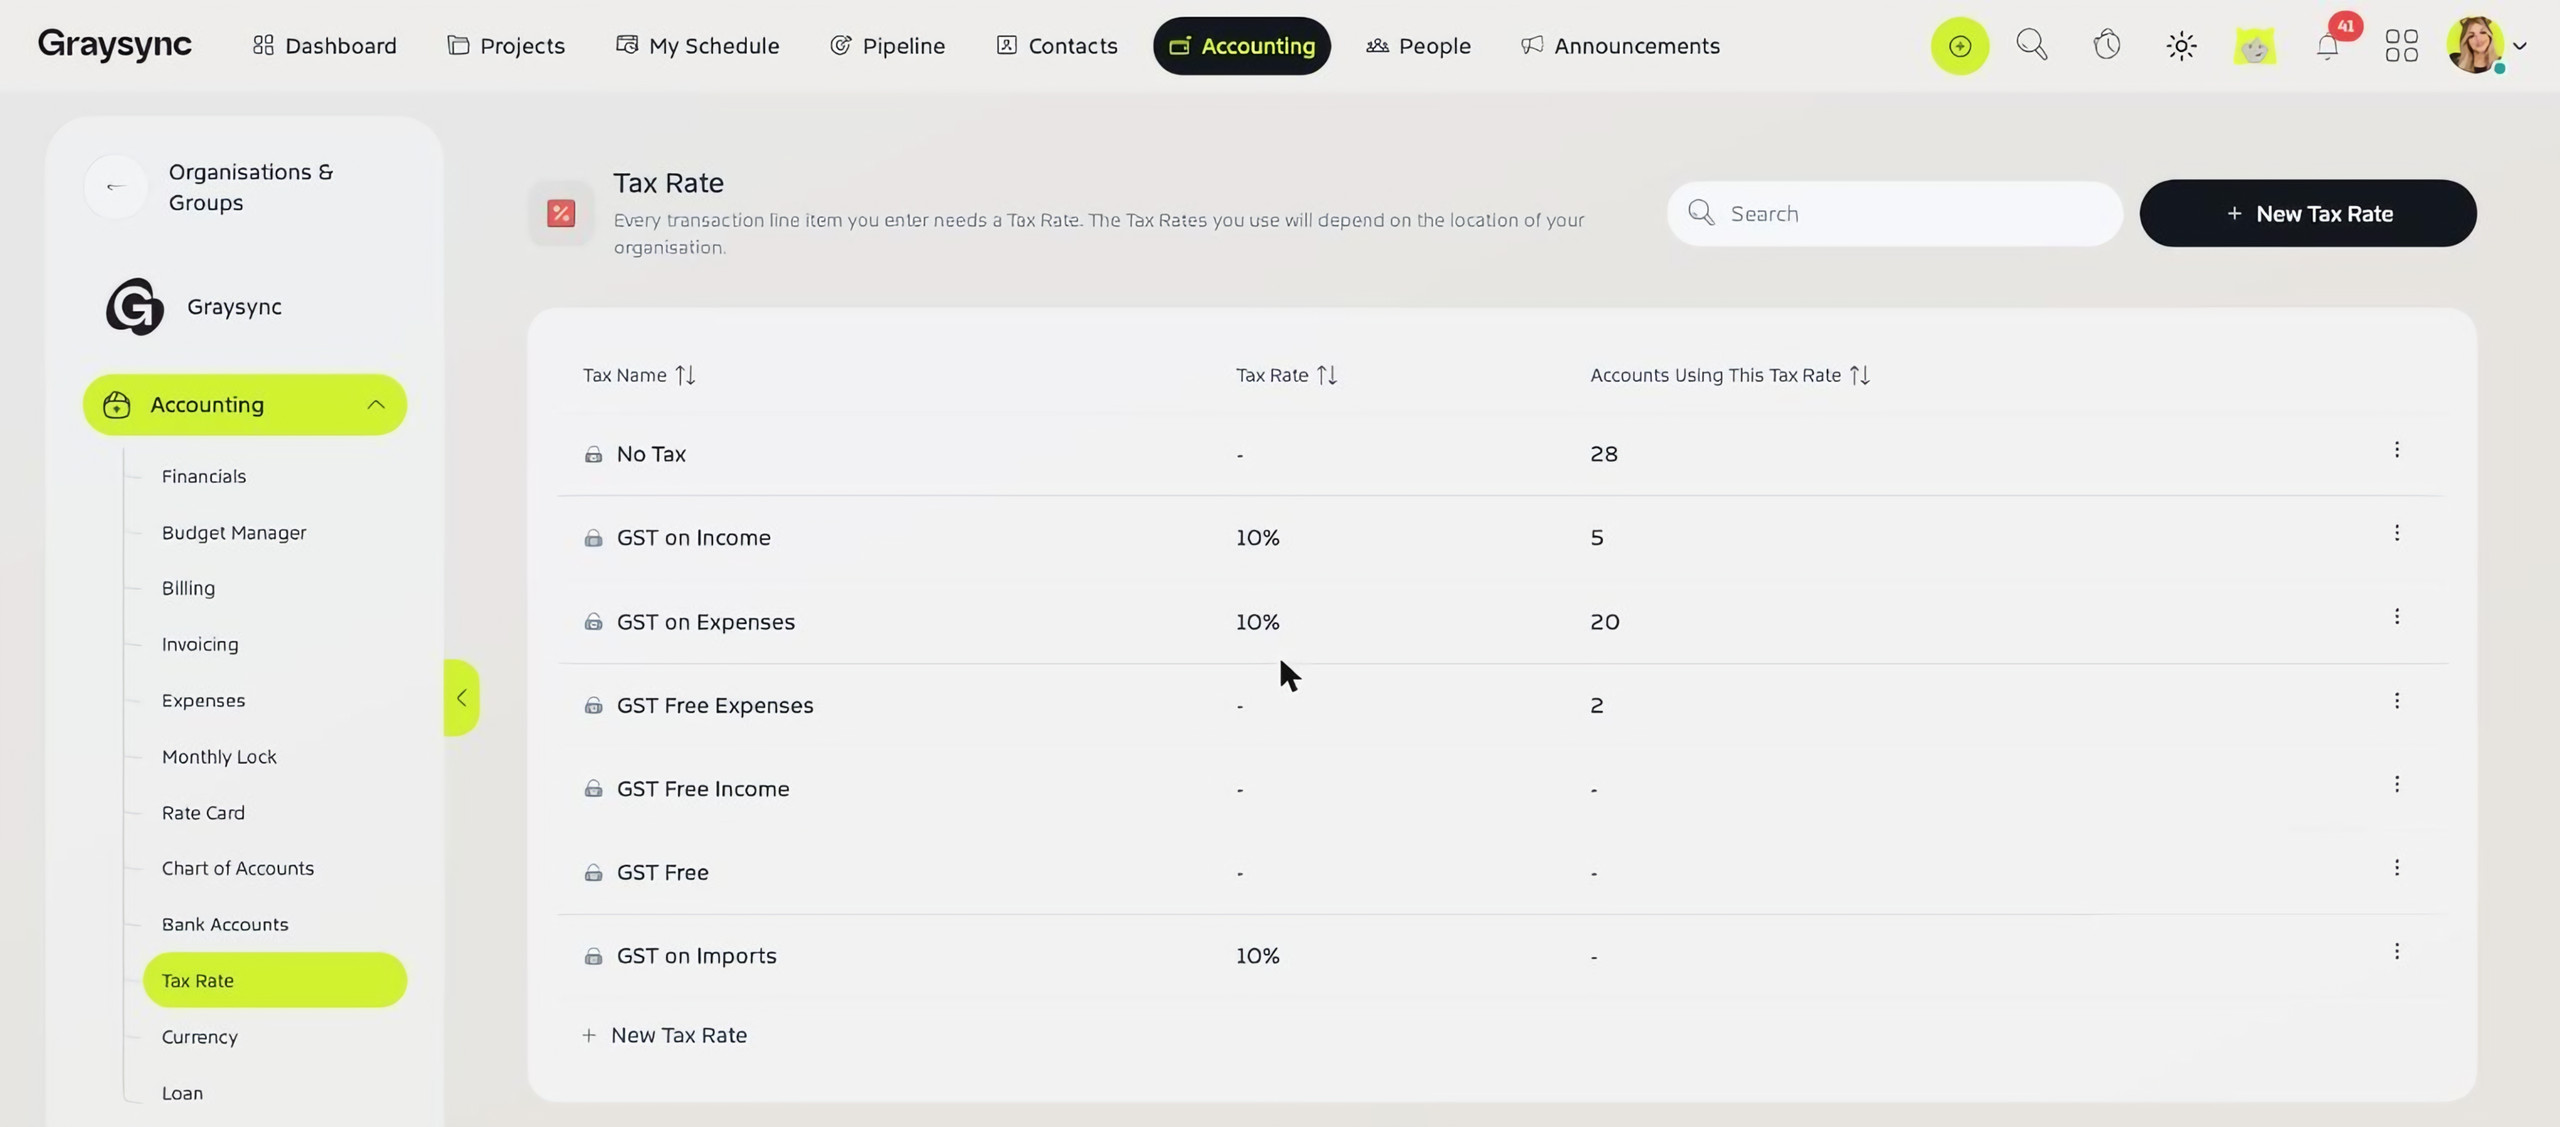
- Open Tax Rate to review the rates applied to your line items. Graysync includes common rates such as GST on Income, GST on Expenses and GST Free. Click New Tax Rate to add your own.
What's next
With your organisation set up, invite your team and add your first customer.